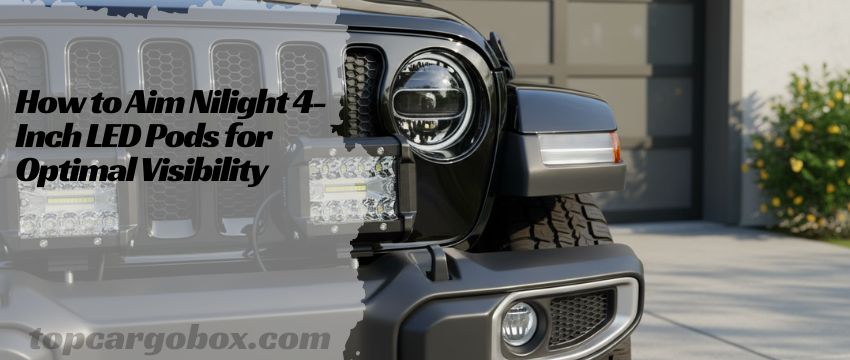
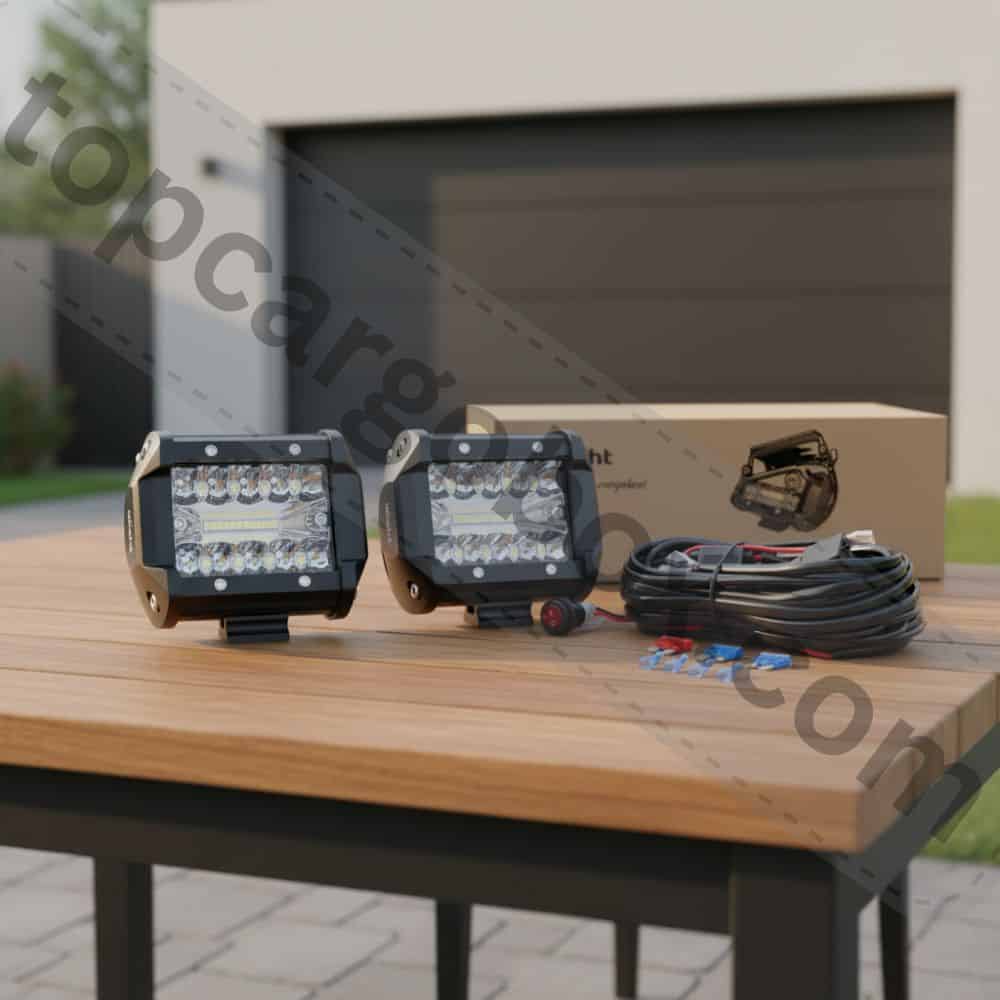
How’s it going? So, you finally got your hands on a set of those Nilight 4-inch LED pods. That’s awesome! You’ve probably already ripped open the box, felt the satisfying heft of the aluminum housing, and imagined the sheer wall of light these little rectangles are about to throw down the trail. I totally get it. The excitement of upgrading your ride is a feeling like no other.
But let’s be real for a second. After the thrill of installation comes a moment of truth. You flip the switch for the first time and… it’s a bit of a mess, isn’t it? The beams are pointing everywhere—maybe one is lighting up the tops of trees while the other is dazzling a squirrel five feet in front of your bumper. That sucks. You didn’t buy these powerful lights just to create a disorganized light show. You bought them to see better, to drive safer, and to look cool doing it. This guide is here to make sure you get exactly that. Forget the guesswork; let’s dial in that perfect aim.
Understanding Your Nilight LED Pods: It’s More Than Just Lights
Before we even think about grabbing a wrench, we need to have a little heart-to-heart about what you’re actually working with. These aren’t your old school halogen bulbs that just throw light everywhere. Your Nilight pods are sophisticated tools, and understanding their design is the absolute first step to using them effectively. It’s like knowing the difference between a screwdriver and a hammer; you use them for different jobs.
The key feature of your specific model is the spot and flood combo beam. What does that even mean, right? Well, imagine the spot beam as a focused laser pointer. Its job is to throw a concentrated, pencil-like beam a very long distance down the trail. The flood beam, on the other hand, is like a soft, wide porch light. It spreads light out to the sides, illuminating the ditches, shoulders, and immediate periphery. Your Nilight pods have both of these patterns integrated into a single unit, giving you that “optimal light spread” the box talks about.
The Critical Role of Beam Patterns in Aiming
Why does this beam pattern stuff matter so much for aiming? Oh, it’s a big deal. If you aim your pods with only distance in mind, you’ll miss out on all that wonderful side illumination. Conversely, if you just point them out to the sides, you lose your long-range vision. The goal is to harmonize these two patterns. You’re not just pointing a light; you’re orchestrating a symphony of visibility. The spot beam is your lead violinist, projecting far into the darkness, while the flood beam is the entire string section, filling in the space with rich, detailed light. Getting them in sync is what separates an amateur setup from a pro-level one.
Can you imagine trying to navigate a tight, twisty forest trail without a good flood pattern? You’d have a brilliant tunnel of light straight ahead but pitch-black darkness where the deer are hiding, ready to jump out. Not a fun time. Or what about a wide-open desert run? Without a strong spot beam, you can’t see the dips and bumps far enough ahead to react at speed. That’s crazy! Understanding this combo is your secret weapon.
A Quick Peek at Your Pod’s Tough Specs
Let’s geek out for a minute on what makes these things so legit. This isn’t just marketing fluff; this engineering is what allows you to aim them reliably and trust them to hold that position.

Feature & Specification | What It Means For You |
|---|---|
Beam Pattern | Spot & Flood Combo. You get both long-range punch and wide-angle fill light in one pod. |
Total Power & Lumens | 60W total power producing roughly 2700 Lumens. This is your raw brightness output. |
Color Temperature | Pure White (6000K-6500K). This mimics daylight, reducing eye strain and improving object definition. |
Housing Material | 6063 Aluminum Profile. This isn’t cheap plastic; it dissipates heat to protect the LEDs and is tough as nails. |
Weatherproof Rating | IP67. Totally dust-tight and can be submerged in water. Rain, mud, and grime are no big deal. |
Voltage Range | 9-30V DC. Perfect for your 12V truck, Jeep, or SUV, with some wiggle room for voltage drops. |
Adjustable Bracket | The key to this whole article! This is how you will fine-tune the angle of your light beam. |
Why Proper Aiming Isn’t Just a Suggestion
I get it. After spending an hour or two wrestling with the wiring harness, drilling holes, and mounting the pods, the last thing you want to do is spend another thirty minutes on a seemingly minor adjustment. You’re tired, you’re hungry, and you just want to see them blaze to life. “Good enough” can feel pretty tempting. But come on, let’s be honest with ourselves. “Good enough” usually isn’t.
Poorly aimed lights are, frankly, worse than useless. First, there’s the massive safety issue. If your pods are aimed too high, you’re essentially creating your own personal low-beam fog. The light reflects off water vapor, dust, and even bugs in the air, creating a blinding glare right in your own eyes. How terrible is that? You install brighter lights to see better, only to end up seeing worse. It’s a total bummer and completely defeats the purpose.
Being a Good Off-Road Neighbor
Then there’s the etiquette side of things. The off-road community is, for the most part, an awesome group of people. We help each other out, we wave on the trails, and we respect one another. Blinding an oncoming vehicle—whether it’s another 4×4, a dirt biker, or a group of hikers—is a quick way to become “that guy.” For real? Nobody wants to be that guy. Properly aimed lights ensure you get the illumination you need without being a nuisance or a hazard to others. It’s a simple sign of respect that goes a long way.
And let’s not forget the legal side of things. While laws primarily focus on headlights on public roads, if you ever have to use your auxilials in an emergency situation on a street, having them pointed correctly can keep you out of trouble with law enforcement. A set of misaimed, hyper-bright lights can be mistaken for aggressive driving or can even get you a ticket. Proper aiming is just smart, all around.
Your Pre-Aiming Checklist: Don’t Skip This!
Alright, you’re convinced. Aiming is crucial. So let’s get to it! Hold up, though. Not so fast. Rushing this process is the number one mistake people make. You can’t aim your lights properly if your vehicle is in a weird state. Let’s get your rig set up correctly first. This part is boring, I know, but it’s the foundation for a perfect result. Trust me on this.
First things first, park your vehicle on a perfectly flat, level surface. Your driveway or a quiet, flat parking lot is perfect. If the ground is sloped, your entire aiming process will be thrown off. I’m not kidding. A slight angle will make you over-compensate or under-compensate, and your beam pattern will be a mess the second you hit level ground. This is non-negotiable.
Prepping Your Vehicle for Accuracy
Next, let’s deal with the vehicle itself. Make sure you have your normal cargo load in the back. If you usually have a recovery gear box, a full-size spare, and a cooler back there, that’s great. If you’re planning a big camping trip and the truck will be loaded down, it’s even better to aim the lights with that weight in it. Why? Because weight in the rear makes the front end point slightly upward, which would cause your lights to aim too high. We want to simulate your vehicle’s typical riding posture.
Now, grab a tape measure and check your tire pressures. Are they all at the recommended PSI? This might seem like overkill, but under-inflated tires can slightly change your vehicle’s ride height. We’re chasing perfection here, so let’s eliminate all the variables. Finally, have someone sit in the driver’s seat, or put something that weighs roughly what you do in that spot. The driver’s weight is part of the equation, too. Off the top of my head, these might seem like tiny details, but together, they ensure your aiming is dead-on when you’re actually driving.
The Tools You’ll Actually Need
You don’t need a fancy garage or a ton of professional tools for this. The beauty of the Nilight adjustable brackets is their simplicity. Here’s your legit toolkit:
- The Correct Sized Wrenches or Sockets: You’ll need these to loosen the nuts on the mounting bracket. Usually, it’s a simple metric size. Using the wrong tool can strip the nuts, and that would be a major headache. Let’s avoid that.
- A Tape Measure: For consistency and marking your distances.
- Masking Tape: This is your secret weapon for marking walls and creating visual guides.
- A Dark Location with a Wall: The final piece of the puzzle. An empty office building’s parking garage after hours is gold, or a quiet dead-end street with a blank wall works great.
How to Aim for Different Driving Scenarios
Here’s where we get into the real meat and potatoes. You don’t use just one aim for everything. That’s like using a single golf club for every shot on the course—it just doesn’t work. Your Nilight combo beam pods are versatile, and you can tune them for specific purposes. Let’s break down the two most common scenarios.
Aiming for Maximum Off-Road Distance
This is what most people think of first. You’re flying across a dry lake bed, navigating a fast-fire road, or just want to see as far as possible down a dark trail. The goal here is to maximize the reach of your spot beam without creating glare for yourself.
Find your dark, flat location with a wall. Pull your vehicle up so the front of your headlights is exactly 25 feet from the wall. This distance is the old-school standard and it works perfectly. Now, mark the wall. Use your masking tape to create a horizontal line that is the same height as the center of your LED pods. Then, mark the vertical centerline of your vehicle. It sounds tedious, but these tape lines are your map.
Now, turn on just your low-beam headlights. See where the top of the headlight beam cutoff hits the wall? Mark that spot with a small piece of tape. This is your reference point. For off-road distance, you generally want the hot spot of your LED pods to be just a little bit above this line, or aligned with the top of it. The idea is to extend your field of vision beyond what your headlights can do. Loosen the bracket nuts and adjust the pods upward until that intense center spot is hitting your target. You want both pods to be perfectly level with each other, pointing straight ahead. Tighten everything down, take the truck for a quick spin on a dark road (off-road, of course!), and see how it feels. Is it reaching far enough? Awesome. Is it causing a bit of hood glare? Lower it a smidge. It’s a process of fine-tuning.
The Secret to Perfect Fog Light Aiming
This one is a game-changer, and most people get it totally wrong. The purpose of a fog light—or using your pods in foggy, dusty, or snowy conditions—isn’t to see far. It’s to see the road directly in front of you and the edges of the road. How many times have you turned on fog lights in a blizzard only to feel like you’re inside a glowing cloud? That’s because they’re aimed too high, illuminating the precipitation itself.
For this, you want to aim your pods low and wide. Seriously, point them down and out. Using the same 25-foot wall setup, you’re going to aim the pods so the top of the beam pattern is well below your headlight cutoff. We’re talking a foot or two lower. The powerful flood portion of your combo beam will then light up a huge, wide area immediately in front and to the sides of your vehicle, cutting under the fog or snow and giving you a clear view of the road’s surface and the ditches. It feels counterintuitive to point such bright lights at the ground, but for real, it works like magic. You’ll cut through the glare and actually see the terrain.
The Step-by-Step Aiming Process: No More Guesswork
Alright, let’s tie all this knowledge together into a simple, repeatable process. Hang tight, follow these steps, and you’ll be golden.
- The Setup: Get your vehicle prepped on that level ground, with normal load and tire pressure. Position it 25 feet from a wall.
- Mark Your Wall: Create your horizontal line at the height of your pods’ centers and your vehicle’s centerline with masking tape.
- Find Your Headlight Reference: Turn on your low beams and mark the top of the cutoff line on the wall. This is your most important guide.
- Loosen and Isolate: Loosen the nuts on the Nilight adjustable brackets just enough that you can move the pod with a firm push, but it doesn’t flop around. Turn on the specific pod you are aiming. It’s best to do one at a time so you’re not getting distracted.
- Align and Adjust: Based on your goal (distance or fog), adjust the pod. For distance, align the hot spot of the spot beam with or slightly above your headlight cutoff line. For fog, point the entire pattern down and out, well below the line. Use the tape on the wall as your guide.
- Secure and Verify: Once you’re happy with the beam pattern on the wall, carefully tighten the bracket nuts while holding the pod firmly in place. You don’t want it shifting while you’re putting torque on the nuts. My bad moments have taught me that lesson!
- The Real-World Test: This is the most fun part. Take your vehicle to a safe, dark, off-road location and test your aim. Does it light up the trail the way you envisioned? Make micro-adjustments if needed. Sometimes what looks perfect on a wall needs a tiny tweak in the real world.
Pro Tips and Common Mistakes to Avoid
You’re almost an expert now. But before you go, let me share a few hard-earned tips that will make your life easier.
Never, ever aim your lights while they are hot. Those LED chips and the aluminum housing can get seriously warm. You can burn yourself, and frankly, it’s just unpleasant. Let them cool down after testing. Also, don’t overtighten the bracket nuts. You just need them snug enough to hold the position against vibrations. Cranking down on them with all your might can strip the threads or crack the bracket. That would be a total bummer.
Are you kidding me? One of the most common mistakes is not doing a final vibration check. After you’ve tightened everything and done your test drive, pop the hood and give the pods a gentle wiggle. Are they still rock solid? That’s what we want. If they have any play, tighten the nuts a hair more. Off-road vibrations will find any weakness and exploit it, causing your perfectly aimed lights to slowly droop over time. A quick check now saves you from having to redo this whole process later.
And finally, be patient with yourself. Getting the perfect aim might take a couple of tries. It is what it is. The difference between a okay aim and a perfect aim is like night and day. You’ve invested in great gear; taking this extra thirty minutes to set it up right is what unlocks its full potential. You’ll get a kick out of the results every single time you hit the trail.
So there you have it. No more blinding yourself or other trail users. Just pure, usable, optimal light that makes your nighttime adventures safer and way more enjoyable. Now go light up the night!
Our team is creating outdoor-gear relevant articles with passion. If our articles can help you to find the correct solutions for your questions, we will be happy about that. In the content creation process, we usually collect accurate and useful information online or offline to compile our content in an organized way. Consequently, we can guarantee that you can discover some expected answers to your questions. We appreciate your time on our site.