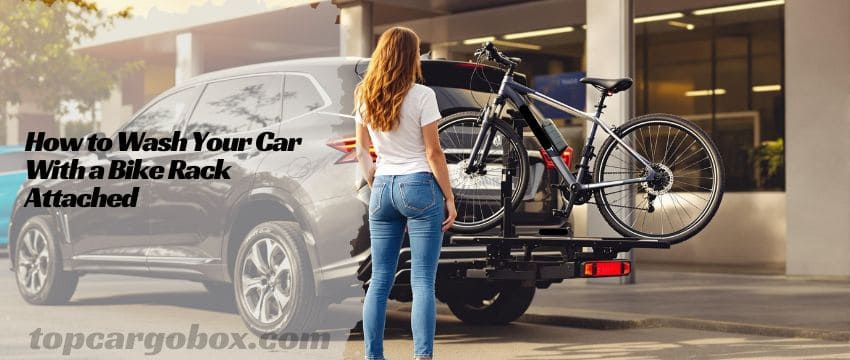
What’s up, Bike Rack Owners? You just rolled back from an epic mountain bike trail or a long-distance cycling tour. Your car is coated in a lovely layer of dust, grime, and maybe even some bug splatter that looks like modern art (not the good kind). But uh-oh, your trusty bike rack is still firmly hitched or strapped on. Taking it off just for a wash feels like a major grunt, right? I get it. Who wants to wrestle with that thing more than necessary? No worries! You can absolutely get your car sparkling clean with the rack still attached. It just takes a bit more finesse and knowing the right steps. Forget the automatic car wash dreams for now (we’ll get into why later), and let’s dive into the legit hand-washing techniques that’ll save your time and your rack.
Why Washing With the Rack On Needs Special Attention
Let’s be real, washing your car with a bike rack clinging on isn’t quite the same as a standard scrub-down. That bike rack totally changes the game. It adds a bunch of nooks, crannies, angles, and potential traps for dirt, water, and soap. Ignore these, and you might end up with water spots galore, soap residue building up in hidden spots (hello, nasty white film!), or worse – grit getting ground into your car’s paint or the rack itself. Plus, many racks have moving parts, locks, or electrical connections (like those cool integrated lights on some hitch models) that really don’t appreciate being blasted directly or soaked internally. Can you imagine trying to unlock a latch gummed up with dried soap? That sucks. Doing it right protects your investment in both your vehicle and your rack, keeping everything functioning smoothly and looking good longer. Think of it like cleaning a fancy watch versus just washing your hands – precision matters!
Understanding Your Bike Rack Type is Key
Not all bike racks are created equal when it comes to wash day. Seriously, knowing your rack type is step zero. Is it a hitch-mounted rack (either platform style holding the wheels or hanging style holding the frame)? Maybe it’s a trunk-mounted rack strapped to your rear hatch? Or perhaps roof racks with crossbars and bike carriers? Each type presents unique challenges and cleaning considerations. Hitch racks are generally sturdier but have complex mechanisms and often contact points with your car’s bumper. Trunk racks? They have tons of straps and padding that can trap water and dirt against your paint – a recipe for swirl marks if you’re not careful. Roof racks add height and complexity, making the top of your car harder to reach. Off the top of my head, I recall a buddy who didn’t realize his trunk rack’s rubber feet had embedded grit; he rubbed it right into his clear coat while washing – bummer! Check out the features of popular racks like the Young Electric Hitch-Mounted 2-Bike Rack or explore the pros and cons of different styles in our guide on Cheap vs Fancy Bike Racks. Knowing exactly what you’re dealing with helps you target your cleaning efforts.
Essential Prep: Getting Ready for the Wash
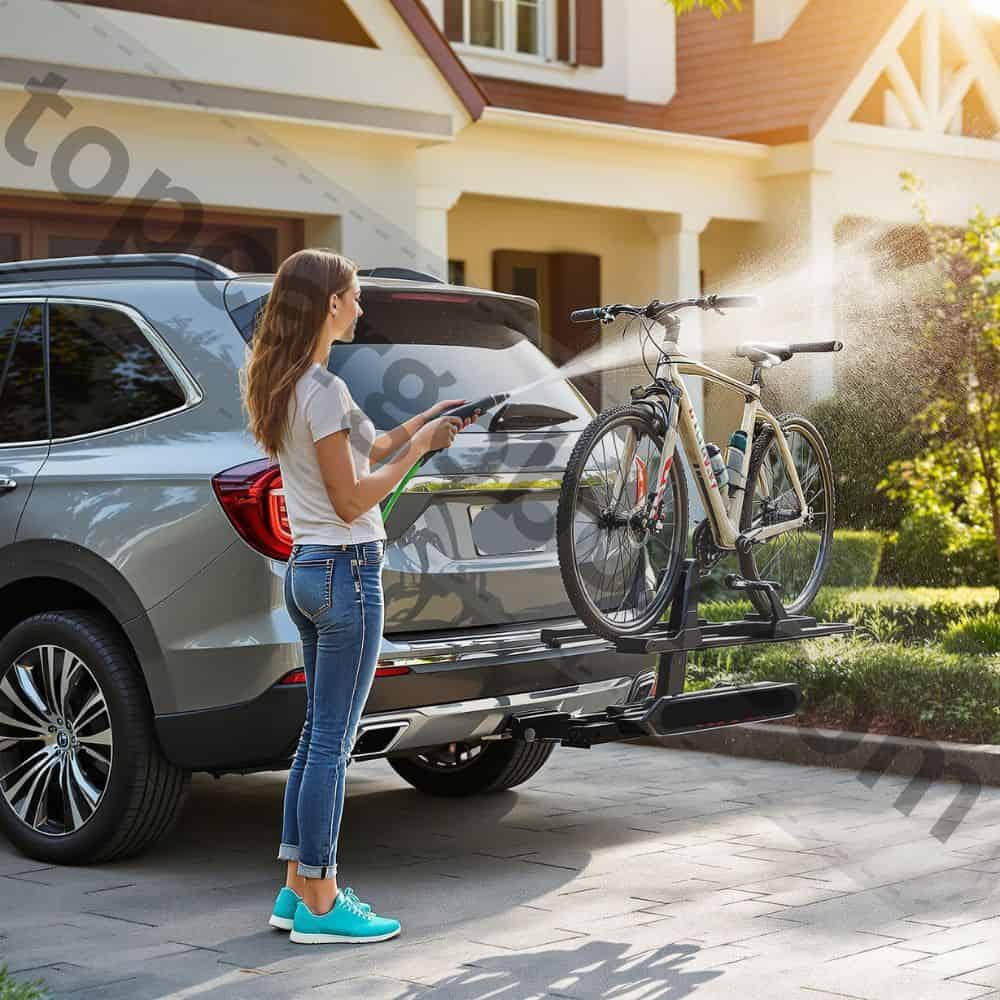
Alright, before you grab the hose and start spraying like you’re putting out a fire, let’s talk prep. Proper prep makes the actual washing way easier and safer. First things first: remove the bikes! Come on, you didn’t think you could wash around them, did you? Besides being super awkward, washing with bikes on risks blasting dirt into delicate components like bearings or getting soap all over your grips and saddle. Find a safe spot to lean them against a wall or pop them on a stand. Next, give the rack itself a quick once-over. Brush off any loose dirt, mud clods, leaves, or dead bugs clinging to it. A stiff bristle brush (dry) works great for this. Trust me, skipping this means you’re just washing that gunk onto your car later. Now, check the rack’s contact points with your car. Are the rubber pads clean? Is there visible grit stuck where the rack touches the paint? Give these areas extra attention with a brush or damp cloth before you start the main wash. This tiny step prevents those dreaded scratches. Finally, if your rack has locks, folding mechanisms, or electrical ports (like the cool features on the SDU Young Electric 2 Bike Rack Mate-R), consider covering them. A bit of plastic wrap or masking tape can shield sensitive areas from direct water pressure and soap infiltration. No big deal prep saves major headaches later!
Mastering the Hand Wash Technique
Okay, prep is done, bikes are off, rack is pre-brushed. Time for the main event! Hand washing is absolutely the way to go here. Automatic washes are a hard no with a rack attached (more on that disaster later). Grab your gear: two buckets (one for soapy water, one for rinse water – the two-bucket method is legit for preventing scratches), quality car wash soap (not dish soap!), a grit guard for the bottom of each bucket, a large soft wash mitt or sponge, a separate soft brush for wheels/tires, microfiber towels for drying, and maybe a wheel cleaner if yours are really grimy. Pretty good setup, right? Start by rinsing the entire car and rack thoroughly with plain water. Use a gentle spray pattern, not a pinpoint jet. The goal is to loosen and remove as much loose dirt as possible without grinding it in. Pay special attention to areas around the rack mounts and underneath the rack itself – dirt loves to hide there. Imagine all that initial grime just washing away down the drain. Awesome!
The Two-Bucket Wash Method Explained
Let’s talk about the two-bucket method because it’s a game-changer for paint protection. Why does it matter? Well, as you wash, your mitt picks up dirt from the car. If you just dunk it back into your soapy water bucket, you’re contaminating that soap with grit, turning it into liquid sandpaper! That’s crazy! The two-bucket method prevents this. Here’s how it works: Fill one bucket with clean water and a grit guard at the bottom. Fill the second bucket with your recommended amount of car wash soap and water (again, use the grit guard). Dip your wash mitt into the soapy bucket, then wash a section of the car (working top to bottom is smart). Before re-dipping into the soapy bucket, rinse your mitt thoroughly in the clean water bucket. Scrub the mitt against the grit guard to release trapped dirt. See the magic? The clean water bucket traps the dirt, keeping your soapy water clean and safe for your paint. I’m down with this method every time! Work methodically around the car and the rack, rinsing sections as you go to prevent soap from drying.
Navigating Around the Bike Rack Safely
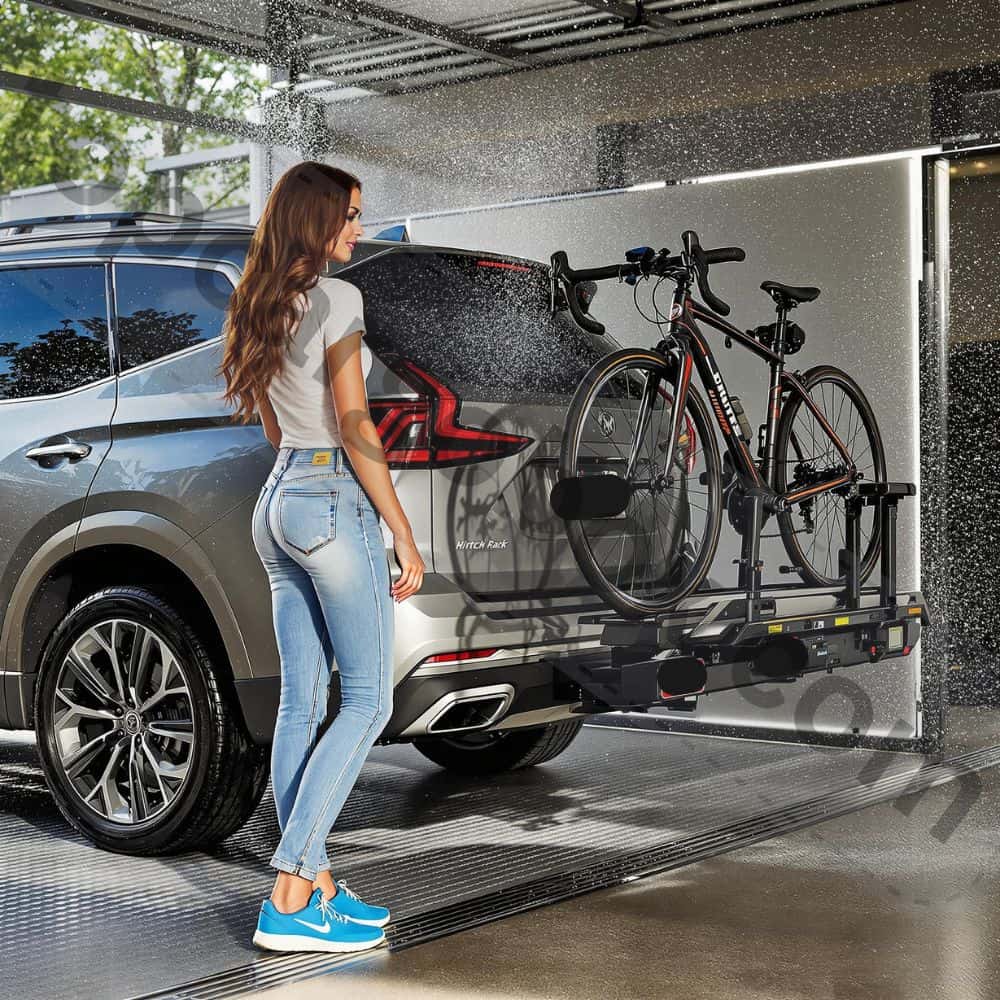
Washing around the bike rack itself requires patience and the right tools. How many times do I have to tell you? Don’t just scrub wildly! Use your wash mitt for large, flat areas of the rack arms and frame. For tight spaces, joints, latch points, and the areas where the rack meets your car’s body, switch to smaller, softer tools. A dedicated detailing brush with soft bristles is perfect for getting into crevices without scratching. Pay extra attention to those contact points you pre-cleaned earlier. Gently lift any straps or padding on trunk racks to clean beneath them – dirt loves to lurk there. For real? Yes! If you have a hitch rack, carefully wash around the receiver tube and any locking mechanisms. Avoid spraying water directly into locks, hinges, or electrical sockets if they aren’t well-sealed. Think of it like washing around a sensitive electronic device – gentle and mindful. Rinse these areas thoroughly but carefully after soaping. Taking it easy here prevents water ingress and mechanical issues later.
Tackling Wheels, Tires, and Under the Rack
Don’t forget the wheels, tires, and that shadowy realm under the rack! These are the dirt magnets. They get seriously grimy. Use a separate mitt or brush (seriously, keep it separate from your paint wash tools!) dedicated to wheels and tires. Apply wheel cleaner if needed (follow product instructions!), let it dwell, then scrub. Tires often need a bit more elbow grease. Now, for the space under the rack: this is crucial. Dirt and road spray accumulate here like nobody’s business. Crouch down and look up! Use your soft detailing brush or a long-handled brush to reach up and gently agitate the soapy water on the car’s body beneath the rack. Be thorough but gentle. Rinse this area extremely well – soap residue hiding under there is a prime cause of streaks and water spots later. Is there anything better than knowing you got all the hidden grime? Nope!
Drying: The Crucial Final Step
Alright, the washing part is done! But hold up – you can’t just let it air dry. That’s a one-way ticket to Water Spot City, population: your car. Drying is absolutely essential, especially with a rack creating so many edges and traps for water. Grab plenty of clean, soft, premium microfiber drying towels. Old school chamois can work too, but high-pile microfiber is generally more effective and scratch-resistant. Start by gently blotting and dragging the towel over the highest points of the car (roof, hood) and the rack itself. Work your way down. Pay insane attention to all the nooks and crannies of the rack – around joints, clamps, arms, and especially underneath. Water will pool and drip from these areas long after the main surfaces seem dry. Use the corner or edge of a towel to wick water out of tight spots. Dry around any locks or mechanisms carefully. Dude, check those rubber pads and contact points again – make sure they are completely dry to prevent moisture getting trapped against the paint. Take it easy and be thorough; rushing this step undoes all your good washing work!
Protecting Your Rack After the Wash
Once everything is bone dry, it’s prime time for a little TLC on the rack itself. A quick protective step now can make your next wash way easier and extend the rack’s life. Grab a silicone-based lubricant (not WD-40 for general lubrication – it attracts dirt!). Apply a small amount to any moving parts: pivot points, folding mechanisms, tilt releases, and latch mechanisms. Wipe off any excess. This keeps things operating smoothly and helps repel water. For metal parts, especially if you live near the coast or see any hint of surface rust, a light application of a protectant like car wax or a dedicated metal protectant spray can add a barrier. Avoid getting these products on plastic parts or the rubber pads that touch your car. Just a minute spent here prevents squeaks, stiffness, and corrosion down the line. Totally worth it!
Why Automatic Car Washes Are a No-Go
Let’s address the elephant in the room: Can you just zip through an automatic car wash? Short answer: Almost always a hard NO. Long answer: Dude, seriously, don’t do it! Why? For real? Let me break it down. Those spinning brushes or heavy cloth strips? They are not designed to navigate around a bike rack. They will slam into it, potentially bending arms, snapping parts, or scratching the heck out of your car’s paint and the rack itself. That’s crazy! Touchless washes that use only high-pressure water and chemicals? Slightly less risky physically, but still not recommended. The intense pressure can force water into seals, mechanisms, electrical connectors (if your rack has lights), and even the hitch receiver itself, leading to corrosion and malfunction. No way! Chemicals might not be compatible with your rack’s materials or lubricants. Save yourself the potential disaster and the cost of a new rack – stick to hand washing when the rack is on. Check out the Drawbacks of Bike Racks for more on limitations like this. It is what it is!
Real-Life Scenario: The Touchless Temptation
I know, I know. It’s pouring rain, you’re exhausted after a long ride, and the shiny touchless wash bay beckons. How’s it going to hurt, right? Let me tell you about a friend (okay, maybe it was me once, years ago!). Thinking it was “safe,” he drove his SUV with a hitch rack (bikes off, thankfully) through a touchless wash. Seemed fine… until later that week. The rack’s tilt mechanism started grinding. Upon inspection, gritty, soapy water had been forced into the pivot points, washing away the grease and letting grit in. It took a full disassembly, cleaning, and re-greasing to fix it – a major pain. Lesson learned the hard way: High-pressure water finds its way into places you don’t want it. Not worth the risk!
Maintaining Your Bike Rack for Easy Cleaning
Want to make every future wash with the rack attached easier? Regular rack maintenance is your secret weapon. Think about it: A clean, lubricated rack with tight bolts is much simpler to wash around than a gritty, squeaky, loose one. Make it a habit to rinse the rack off with plain water after muddy or dusty trips, even if you aren’t washing the whole car. This prevents dirt from baking on. Periodically (like every few months or before a big trip), inspect all bolts and fasteners for tightness – vibrations can loosen them. Give me a break? Nah, just a quick check with a wrench takes minutes. Lubricate moving parts as mentioned earlier. If it’s a hitch rack, occasionally remove it and inspect the hitch receiver tube for debris and rust; a light coating of grease inside the tube helps. A little proactive care means less scrubbing and fewer headaches later, making the “wash with rack on” process smoother every time. Sounds good, right?
Conclusion: A Clean Car and Rack is Totally Doable!
So, there you have it! Washing your car with a bike rack attached isn’t rocket science, but it does require ditching the automatic wash fantasy and embracing the hand wash. I get it, it takes a bit more time and effort than a standard wash. But hey, compared to the hassle of removing and reinstalling the rack every single time you need a clean car? This method is totally manageable. By understanding your rack, prepping properly, using the right techniques (especially the two-bucket method!), drying meticulously, and giving the rack some basic care, you can keep both your vehicle and your gear looking sharp and functioning flawlessly. Next time you roll in dirty with bikes loaded, don’t stress. Grab your buckets, mitt, and some tunes, and get washing. You’ve got this! Catch you later on the clean, open road (or trail!).
Frequently Asked Questions About Car Washes and Racks
Can you go through a car wash with a bike rack on?
Absolutely not recommended, and generally a very bad idea. For real? Yes! Most automated car washes (both touch and touchless) pose significant risks. Physical contact from brushes or cloths can easily damage the rack arms or your car’s bodywork. High-pressure water in touchless washes can force water into sensitive rack mechanisms, electrical connections (if equipped), and the hitch receiver itself, causing corrosion and potential failure. Save yourself the headache and potential repair bill – always remove the bike rack before entering any automated car wash. Hand washing is the only safe method with the rack attached.
Can I go through a car wash with crossbars?
This is risky and usually not advised. Why? While low-profile crossbars might survive a touchless wash better than a full bike rack, it’s still not guaranteed safe. The high-pressure jets could potentially damage roof rack seals, force water into mounting points, or even loosen attachments over time. Bummer, right? Brushes in traditional washes are almost certain to snag or put stress on the crossbars and their mounts. To be safe and protect your roof and rack system, it’s best practice to remove crossbars before an automated wash. If you must leave them on, a touchless wash is the lesser evil, but proceed with caution and understand the potential risks.
Can you go through a car wash with a cargo rack?
Similar to bike racks and crossbars, it’s strongly discouraged. Cargo racks (like roof boxes, basket carriers, or hitch cargo platforms) significantly alter your vehicle’s profile. Brushes in traditional washes will almost certainly slam into them, risking damage to the rack, its contents, and your car’s paint. That sucks! High-pressure water in touchless washes can infiltrate seals on roof boxes or seep into mounting hardware and hitch receivers, leading to water damage inside the box or corrosion. The safest bet is always to remove cargo carriers before using an automated car wash. Hand washing is the way to go if you need to leave it on.
Can you go through a carwash with a hitch on?
Just the empty hitch receiver itself? Usually, yes, this is generally fine. No big deal! The bare metal hitch receiver tube is designed to be robust and exposed to the elements. Automated car wash brushes and high-pressure water won’t typically damage it. However, be aware: Intense pressure can force water and soap deep into the receiver tube. After the wash, it’s a smart move to thoroughly dry the inside of the hitch receiver (stuff a rag in there) and consider applying a light coat of grease to prevent rust. If you have a hitch cover or pin lock, ensure it’s secure. So, empty hitch? Usually okay, but drying it out afterward is a good habit.
Can you go through a carwash with a pickup?
Yes, absolutely! Pickup trucks are generally designed to handle standard automated car washes. That’s awesome! Whether it’s a touch wash or touchless, the typical profile of a pickup (without added racks or significant bed modifications) fits within the wash bay parameters. Just ensure your tailgate is securely closed, any tonneau covers are properly fastened (see next question!), and you’ve removed any loose items from the bed that could fly out or get damaged. Standard pickup truck? No problem cruising through.
Can I go through a car wash with a bed cover on my truck?
It depends heavily on the TYPE of bed cover and the specific car wash. Soft roll-up or folding tonneau covers? Generally not suitable for brush-style car washes, as the brushes can catch and damage the vinyl or fabric. Touchless washes are usually okay for these, as there’s no physical contact. Hard folding or retractable covers? These are much more robust. Most can safely handle both touch and touchless washes, but always check the manufacturer’s instructions for your specific cover model to be 100% sure. Never go through a brush wash with a soft cover, and ensure any hard cover is securely latched. When in doubt, check the manual!
Our team is creating outdoor-gear relevant articles with passion. If our articles can help you to find the correct solutions for your questions, we will be happy about that. In the content creation process, we usually collect accurate and useful information online or offline to compile our content in an organized way. Consequently, we can guarantee that you can discover some expected answers to your questions. We appreciate your time on our site.