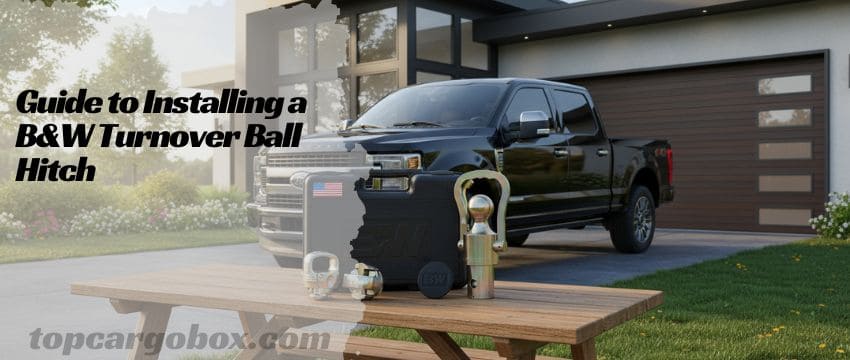
How’s it going, truck owner? So, you finally got your hands on the legendary B&W GNXA2061 turnover ball hitch for your Ford F-250. That’s awesome! This is, without a doubt, one of the most robust and clever towing systems out there. But let’s be real for a second. Staring at that heavy box of polished steel and all those components can feel a little intimidating, right? You’re probably thinking, “Can I actually handle this install myself, or am I about to get in way over my head?”
I get it. The thought of messing with your truck’s bed, especially on a beast like an F-250, is no joke. What if you scratch the paint? What if you can’t get the torque right? What if it just doesn’t fit? Take a deep breath, because you’ve got this. This guide is going to walk you through the entire process, step-by-step, in plain English. We’re going to ditch the confusing jargon and talk through it like a couple of buddies in your garage. By the time you’re done reading, you’ll be ready to tackle this job with confidence, saving yourself a pretty penny on professional installation and gaining that sweet, sweet satisfaction of a job done with your own two hands. Let’s get your truck ready to haul some serious weight.
Getting to Know Your B&W GNXA2061 Hitch
Before we even think about grabbing a wrench, let’s chill for a minute and really understand what we’re working with. The B&W GNXA2061 isn’t just a hunk of metal; it’s a brilliantly engineered piece of kit designed specifically for your Ford F-250’s factory-installed puck system. You know those little covered circles you have in your truck bed? That’s the OEM puck system, and B&W designed this hitch to seamlessly lock right into it. How cool is that?
This system is the definition of versatile. One minute, you have a completely flat truck bed for hauling lumber or that new couch. Then, in just a few moments, you can flip the mechanism over and reveal a massive, industry-standard gooseneck ball, ready to tow a horse trailer, a massive equipment hauler, or your fifth-wheel RV. It’s like having a superhero identity for your truck bed. All the components are either plated or made from stainless steel, which is a game-changer for fighting off rust and corrosion. For real, this thing is built to last through winters, road salt, and whatever else you can throw at it. Plus, it’s all made right here in America and backed by a legit Limited Lifetime Warranty. You really can’t ask for much more.
Key Features and Specifications at a Glance
Let’s break down the nitty-gritty details of your new hitch in a simple table. This isn’t just boring specs; this is everything that makes this product a winner.

Feature & Specification | Details |
|---|---|
Brand | B&W Trailer Hitches |
Model | GNXA2061 Turnover Ball Gooseneck Hitch |
Item Weight | A manageable 20 Pounds |
Vehicle Compatibility | Designed for Ford, GM, and Nissan trucks with OEM puck systems |
Primary Material | High-strength Stainless Steel |
Finish Type | Durable Powder Coated for extra protection |
Key Feature | Integrates with factory puck system; no drilling required |
Safety Feature | Convenient handle locks to prevent accidental unlatching |
Corrosion Protection | All components are plated or stainless steel |
Safety Chain Anchors | Accommodates standard safety chain hooks |
Warranty | Limited Lifetime Warranty |
Why This Hitch is a Game-Changer for Your F-250
Remember the old-school way of installing a gooseneck hitch? It usually involved a ton of drilling, measuring twice (or ten times), and permanently sacrificing a chunk of your truck bed. That totally sucks. The B&W system completely flips the script. Because it uses the existing pucks, the installation is almost like a plug-and-play setup for your truck. No drilling means no chance of messing up your expensive bed, and no permanent modifications that could affect resale value.
And let’s talk about that clean, low-profile design. When the hitch is not in use, it flips over and tucks away neatly, giving you a completely flat surface. Who doesn’t want a flat bed when they’re not towing? You can actually use your entire truck bed for other things without a huge, greasy ball mount always being in the way. The handle itself even has a clever lock that holds it in a horizontal position, which not only makes it super secure but also gives you a convenient way to carry the ball. It’s those little thoughtful details that show you B&W really gets what truck owners need.
What You’ll Need for the Installation
Alright, it’s time to gather the troops. Having all your tools and supplies ready before you start is the key to a smooth, stress-free installation. Nothing kills your vibe faster than having to run back to the auto parts store in the middle of the job because you’re missing one specific socket. Trust me on this one.
First up, your F-250 should have come with a nifty little tool kit from Ford, usually stored under the rear seats. This kit often has the very socket you need to turn the locking pucks. If you can’t find it, no big deal. You’ll need a ¾-inch drive ratchet or breaker bar and the corresponding ¾-inch to ½-inch drive adapter. This is non-negotiable; those pucks need some serious torque. You’ll also want a standard ½-inch drive ratchet and a 13mm socket for some of the hitch’s own bolts. A rubber mallet can be your best friend for gently persuading parts into place without damaging them. Don’t forget some work gloves to protect your hands and a good flashlight so you can see what’s going on inside those puck holes.
Creating Your Perfect Workspace
Let’s talk about your stage for this performance—your garage or driveway. You’ll want a clean, well-lit, and flat surface to work on. If you’re working in a garage, make sure you have plenty of overhead light. If you’re outside, try to pick a day when the weather is cooperating; wrestling with a hitch is grunt work enough without adding rain or blazing sun into the mix. Clear out any junk from your truck bed. You’ll need easy, unobstructed access to all four of those puck system holes.
It’s also a fantastic idea to have a small tarp or a piece of cardboard on hand. You can lay your hitch components on this to prevent them from getting scratched up on the concrete. The powder coat is tough, but it’s not invincible. A little prep now will keep your shiny new hitch looking, well, shiny and new. Feeling under the weather about the space? Just take five minutes to tidy up. You’ll be so glad you did.
Step-by-Step Installation Walkthrough
You’re all set with your tools, your workspace is prepped, and you’re ready to roll up your sleeves. This is where the magic happens. I’ll walk you through the entire process, from popping off those puck covers to torquing everything down for a safe and secure fit. Are you kidding me? This is going to be easier than you think.
Step 1: Prepping Your Truck Bed
First things first, you need to expose the puck system. Hop into your truck bed and locate the four circular puck covers. They might be a little stubborn, especially if they’ve never been removed. The best way to pop them out is to use a flat-head screwdriver or a trim tool. Gently pry from the notch on the edge. Don’t go all Hulk on them; a little finesse is all you need. Once you get one corner up, you can usually just pull them out by hand.
Now, take a second to peer down into those holes. You might see some dirt, leaves, or even a little water. It’s a good idea to take a shop vac and clean out each hole thoroughly. You want a clean, debris-free surface for the hitch components to sit on. This is one of those “ounce of prevention” moments. A small piece of gravel stuck under the hitch could prevent it from sitting perfectly level, and that’s just not a risk we’re willing to take. While you’re at it, give the general area a quick wipe-down. A clean bed is a happy bed.
Step 2: Assembling the B&W Hitch Components
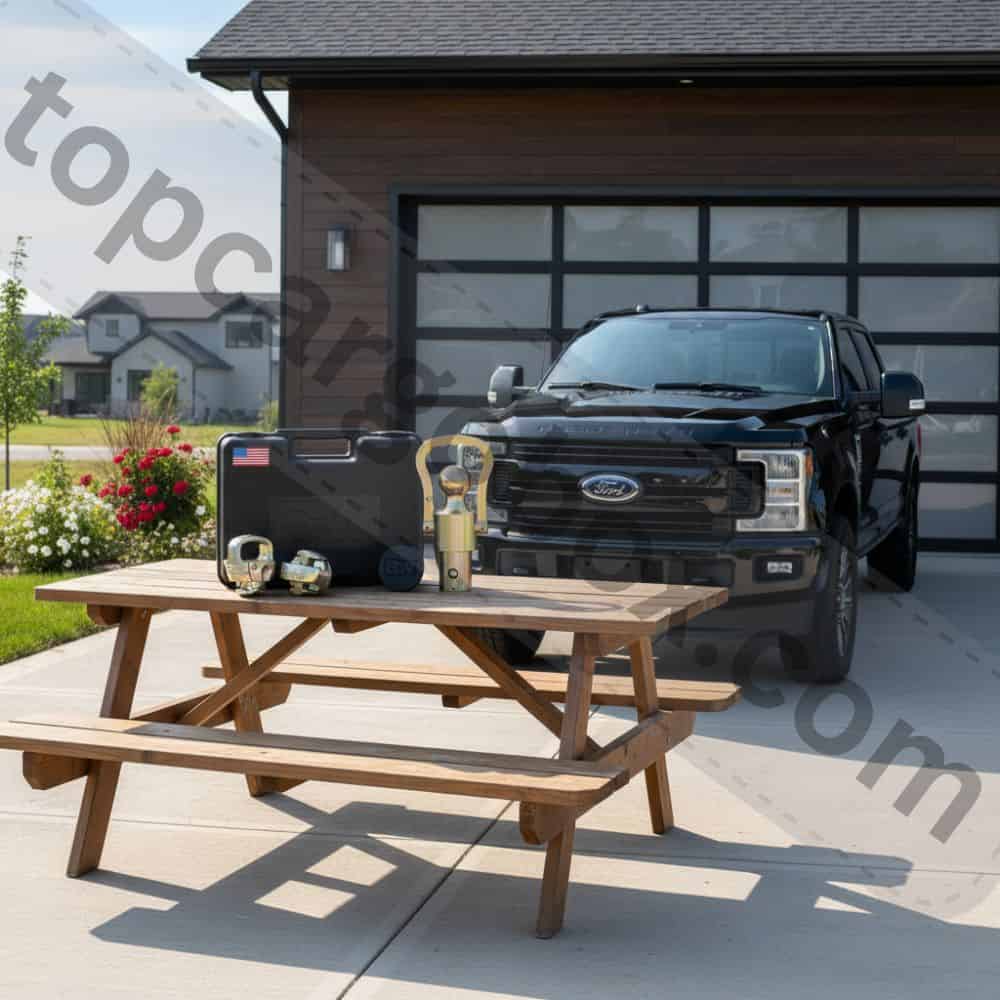
Okay, let’s get the hitch itself ready. Unbox your B&W GNXA2061 and lay all the parts out on your tarp or cardboard. You should have the main turnover ball assembly, the four locking legs, and the necessary bolts and washers. Take a moment to admire the craftsmanship. That stainless steel is legit. Now, the legs need to be attached to the main unit. This is usually a straightforward process involving the provided bolts and your 13mm socket.
Follow the manufacturer’s instructions that came in the box for the exact orientation. Typically, the legs will slide into channels on the main unit, and you’ll tighten the bolts to lock them in place. Don’t go cranking on them with all your might just yet; just get them snug. We’ll do the final torque once everything is in the truck. The goal here is to have the main hitch assembly fully put together so it’s ready to be lowered into the puck system. It’s like building the final piece of a puzzle before you drop it into place.
Step 3: The Big Moment – Lowering and Locking the Hitch
This is the main event, dude. With a friend’s help, carefully lift the assembled hitch and position it over the four puck holes in your truck bed. The legs should align perfectly with the holes. Go ahead and lower it in. It should sit down nicely onto the bed floor. If it feels like it’s catching, don’t force it. Just lift it back out, double-check the alignment, and try again. A little jiggling might be necessary.
Now, grab your ¾-inch drive tool and adapter. This is where you provide the muscle. Find the rotating cam locks on the hitch—they’re usually marked with “LOCK” and “UNLOCK” arrows. Insert your tool and turn each one to the “LOCK” position. You’ll feel some serious resistance; that’s totally normal. You need to put some grunt into it to ensure the cams engage fully and pull the hitch down tight against the truck’s frame. This is the single most important step for safety, so make sure every single one of those four cams is fully and completely locked. Give the hitch a good shake. It shouldn’t budge at all. If it’s rock solid, you’ve nailed it!
Step 4: Final Checks and Safety Verifications
You’re in the home stretch! But before you call it a day and go for a celebratory drive, we have to do our due diligence. Safety isn’t just a suggestion; it’s everything when you’re towing thousands of pounds. First, do a visual inspection. Look at all the bolts you tightened during assembly. Are they all still snug? Double-check the locking cams. Are they all still pointing firmly at the “LOCK” arrow?
Next, let’s talk about the safety chain anchors. These are the little loops on the hitch where you’ll attach your trailer’s safety chains. Get familiar with them. Make sure the safety chains you have are commercially available hooks that will fit securely into these anchors. The chains are your last line of defense if something ever goes wrong with the coupler, so their attachment points need to be accessible and in good working order. Finally, operate the turnover mechanism a few times. Flip the ball down into towing position, and then flip it back up into its stowed, flat-bed position. The action should be smooth, and the handle should lock securely in its horizontal carry position. If everything looks good and operates smoothly, my friend, you have successfully installed your B&W GNXA2061 hitch. How wonderful is that?
Living with Your New B&W Hitch
The hard part is over, and now it’s time to enjoy the fruits of your labor. Having this system on your F-250 completely changes the game. Heading to the hardware store for a big load of mulch? No problem, you have a flat bed. Your buddy needs help moving a tractor? You’re his guy, just flip the ball over and you’re ready to hook up. The convenience is absolutely unreal.
Maintenance is a breeze, which is awesome. The stainless steel and powder-coated finish do most of the work for you. After a long trip, especially in bad weather or on salty roads, just give the hitch a quick rinse with water to wash off any corrosive gunk. A periodic visual check to ensure the locking cams are moving freely and that there’s no unexpected rust or damage is all it takes to keep this thing working perfectly for years, and probably decades, to come. That Limited Lifetime Warranty from B&W isn’t just for show; it’s a testament to how well this thing is built. You made a solid investment.
Troubleshooting Common Questions
Even with a perfect installation, you might have a question or two down the road. It is what it is. One common thing people notice is a very slight amount of movement or a creak when going over sharp bumps, even when the hitch is locked. Off the top of my head, this is usually not a sign of a problem. The system has tolerances, and a tiny bit of movement is normal. If it becomes significant or you’re hearing loud bangs, then you should re-verify that all cams are locked.
What if you’re getting ready for a big trip and you just feel a little unsure? Give me a break, that’s totally normal! The best practice is to do a quick pre-tow check. Verify the ball is flipped to the correct towing position and locked. Check that the main unit’s cams are still locked. Give the whole assembly a physical pull to confirm it’s secure. This thirty-second routine will give you total peace of mind before you hit the road. After all, knowing your rig is safe and sound lets you just relax and enjoy the drive.
Our team is creating outdoor-gear relevant articles with passion. If our articles can help you to find the correct solutions for your questions, we will be happy about that. In the content creation process, we usually collect accurate and useful information online or offline to compile our content in an organized way. Consequently, we can guarantee that you can discover some expected answers to your questions. We appreciate your time on our site.