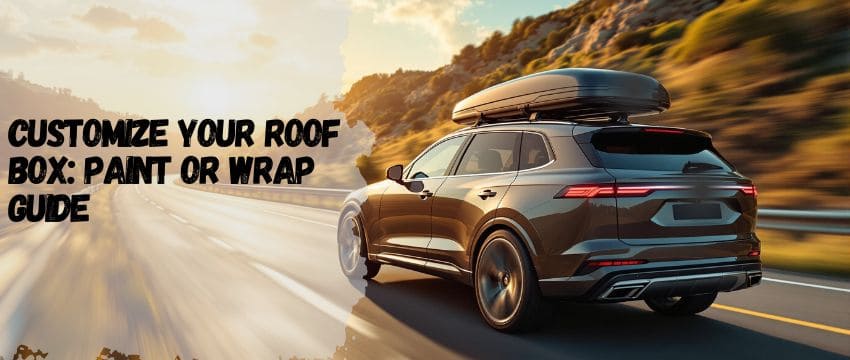
What’s up, road warriors? Tired of that bland roof box cramping your style? Let’s turn that clunky storage unit into a head-turning masterpiece. Whether you’re into flashy colors or sleek matte finishes, this guide’s got your back. No more “meh” vibes—let’s make your ride legit.
Why Bother Customizing Your Roof Box?
How’s it going, DIY enthusiast? Let’s get real—roof boxes aren’t cheap, and they all look the same straight out of the store. Yawn. Why settle for blah when you can slay? A custom roof box isn’t just about looks; it’s about making your gear yours. Plus, a fresh paint job or wrap can even protect your box from UV rays and scratches. Mic drop.
Paint vs. Wrap: What’s Your Vibe?
The Lowdown on Painting
Painting’s old school but timeless. You’re looking at 2-4 days of work, depending on drying times. It’s perfect if you want a permanent, glossy finish. But hey, mess up the prep, and you’ll see drips faster than you can say, “Oh snap!” Pro tip: Use automotive-grade paint for weather resistance.
Vinyl Wrapping 101
Wrapping’s like giving your roof box a temporary tattoo. Most projects take 5-8 hours, and you can peel it off later if you’re over the design. Perfect for indecisive folks! But if your box has dents, the wrap will highlight them like a nosy neighbor.
Gear Up: Tools You’ll Need
No way you’re starting this project without the right tools. For painting, grab sandpaper (120-220 grit), primer, paint, clear coat, masking tape, and a respirator. Wrappers, you’ll need a vinyl roll, squeegee, heat gun, and a sharp knife. Forget the fancy gear—basic supplies work if you’ve got patience.
Prepping Like a Pro
Clean It or Regret It
Grime and paint? That’s crazy! Scrub your roof box with soapy water, then hit it with isopropyl alcohol for a grease-free surface. Skipping this step? Enjoy your bubble-filled wrap or peeling paint. You’ve been warned.
Sanding: The Boring Hero
Grab 220-grit sandpaper and scuff every inch. Smooth surfaces help paint stick and wraps lie flat. Hate sanding? Same here, but trust me—it’s a game-changer. Wipe away dust with a tack cloth. No big deal.
Painting Step-by-Step
Primer Time
Spray primer in thin, even coats. Wait 1-2 hours between layers. Miss a spot? Your final color might look patchy. Three coats usually do the trick.
Paint Like Picasso
Shake that paint can like it owes you money. Hold it 8-10 inches away and use sweeping motions. Too close? Drips city. Too far? Wasted paint. 3-4 coats later, you’re golden.
Seal the Deal
Clear coat adds shine and protection. Apply 2-3 layers, letting each dry fully. Boom—weatherproof swagger achieved.
Wrapping Without the Rage
Measure Twice, Cut Once
Lay your vinyl flat and cut it 2 inches larger than each panel. Stretch it gently, using a heat gun to mold around edges. Squeegee out air bubbles like you’re banishing demons.
Heat Is Your BFF
A heat gun softens vinyl, making it cling to curves. But crank it too high? Melted vinyl smells worse than burnt popcorn. Keep it moving!
Protecting Your Masterpiece
Feeling under the weather about durability? Add a ceramic coating for paint or UV-resistant laminate for wraps. Wax painted surfaces every 3-6 months. For wraps, avoid pressure washers—they’re peel-happy.
Keeping It Fresh
Paint Maintenance
Bird poop? Wash it ASAP—acid eats paint. Touch up chips with a nail polish-sized brush. Park in shade when possible.
Wrap Care
Use vinyl-safe cleaners. No scrubbing—soft cloths only. Spot a lifted edge? Hit it with heat and reseal.
DIY Disasters (And Fixes)
Are you kidding me? Paint drips? Sand ’em flat once dry and re-spray. Wrinkles in your wrap? Peel back gently, reheat, and smooth. Bubbles? Poke with a pin and press. It is what it is, but you’ve got this.
Wrap-Up
Catch you later, bland roof boxes! With these tips, your ride’s about to level up. Whether you paint or wrap, own that custom look. Now, go flex on the highway.
Roof Box Specs at a Glance
Feature | Details |
|---|---|
Material | ABS plastic or fiberglass |
Weight Capacity | Up to 165 lbs |
Dimensions | Varies (6-18 cu ft) |
Compatibility | Fits most crossbars (Thule, Yakima, etc.) |
Color Options | Limited stock colors; customizing recommended |
FAQs
How do you prep a roof box for paint?
Clean it with soapy water, then wipe with alcohol. Sand the surface with 220-grit paper to rough it up. Mask off areas you don’t want painted. Apply primer in thin, even coats. Let it dry completely before painting.
How much MPG do you lose with a roof box?
Roof boxes can drop fuel efficiency by 15-25%. Aerodynamic designs help, but speed matters—going 75 mph vs. 55 mph makes it worse. Remove it when not in use to save gas.
How much would it cost to paint the roof of my car?
DIY costs around 50−50−200 for supplies. Professionally? Expect 300−300−1,500, depending on paint quality and labor. Custom designs or metallics cost extra.
What is the easiest way to paint a roof?
Use spray paint for smooth coverage. Work in a dust-free, shaded area. Apply multiple light coats instead of heavy ones. Let each layer dry fully. Finish with clear coat for durability.
Which paint is best for roof painting?
Automotive acrylic enamel or urethane paints are top choices. They’re UV-resistant and flexible. For roof boxes, opt for spray cans or HVLP sprayers. Matte finishes hide imperfections better.
Our team is creating outdoor-gear relevant articles with passion. If our articles can help you to find the correct solutions for your questions, we will be happy about that. In the content creation process, we usually collect accurate and useful information online or offline to compile our content in an organized way. Consequently, we can guarantee that you can discover some expected answers to your questions. We appreciate your time on our site.