Do you want to repaint your car roof box? We guess you may want to change the color of a cargo box to match your vehicle’s style, to renew an old or used roof box, or to repair a hole or scratch area on a car roof box. When encountering problems like that, you must have the skills to handle the painting job with the necessary equipment and tools.
This guide helps you to learn some must-have skills for professionally repainting a car roof box like a pro. A rooftop cargo box provides additional storage space on the car roof to help car owners load extra luggage or gear for most outdoor activities like hiking, camping, fishing, golfing, hunting, cycling, skiing, and more. When your rooftop cargo box is old with abrasion areas, you probably want to replace it with a new one; in our opinion, why don’t you give it a makeover?
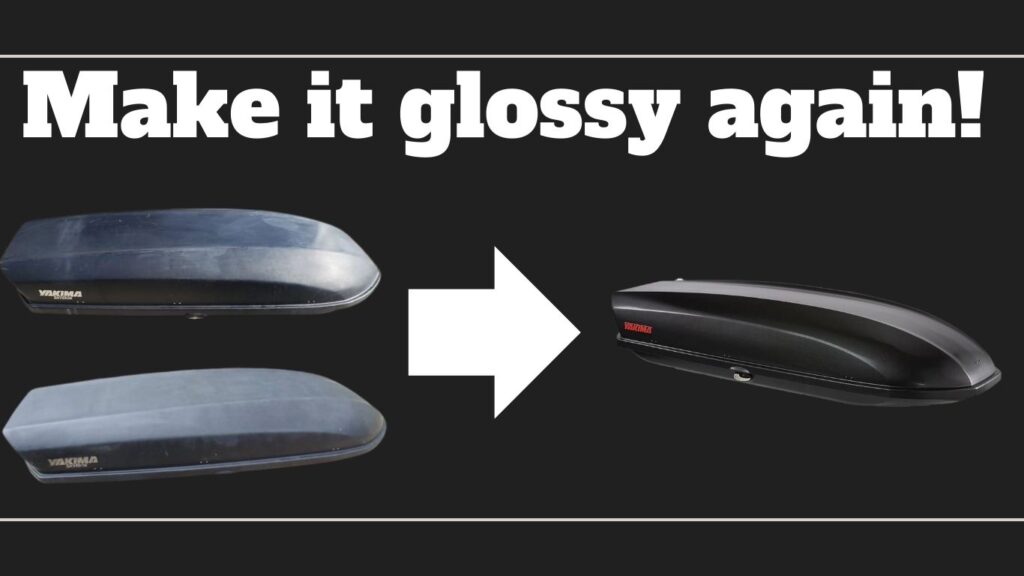
We will guide you through the entire process of repainting a cargo box and making yours glossy again. You can say goodbye to those expensive services and follow our DIY instructions to offer a new look for your existing rooftop cargo boxes.
Related Topic: How to repair a cargo box?

Assessing the Condition of your Rooftop Cargo Box
The first thing is first. You should assess the condition of your rooftop cargo box before doing anything to it. You better not skip this step because its current conditions tell what you must prepare and do during the repainting. When assessing your car roof box, you can approach the cargo box and check its conditions from a realistic perspective.
You should examine your cargo box and make signs on damaging areas like scratches, dents, or cracks. If you find tiny imperfections, don’t be upset! These minor damages are easy to fix during the repainting process. If your cargo box’s internal structure is damaged and may bring potential risks for future use, you better consider replacing it with a new one.
Before repainting a cargo box, you should check the current painting conditions to find if there is chipping, peeling, or fading on the surface. You better give your cargo box a deep cleaning before assessing it.
After getting the notes about the conditions of your rooftop cargo box’s surface, you can know what tools will be needed and how much time you will spend on the job. Assessing is the first step in transforming your cargo box into a stunning one.
Gathering the Right Tools and Materials
When you have an accurate assessment report on your cargo box, you can begin to collect the necessary materials and tools for the repainting process. It is a straightforward process that won’t give you a headache. First, you need an automotive-grade paint that can perform well in the outdoor environment and provide protection against the natural elements. When picking the paint, you should choose a color that matches the style of your car and your personal favorite.
Image | Options | Links |
|---|---|---|
 | It is an easy-to-use color spray with 8 different color options: black, blue, green, Ground Coat Anodized, Orange Copper, Purple, Red, and Yellow, and it has two selling options: one 11 Ounce spray or a pack of 6 bottles of 11 Ounce spray. It is an auto-grade color spray that you can use to repaint your car roof box without worry. | |
 | 24 pieces of sandpaper with 12 grits can help you sand the subject to get a smooth surface for painting jobs. You can use these sandpapers in dry and wet conditions, so we recommend you wet the area on the cargo box where you want to grind. | |
 | The Duck brand painter’s tape can help you mask the rest area on the car roof box to prevent messing up the painting and creating lines and shapes after peeling off. | |
 | VONFORN Paint Sprayer with 4 size nozzles (1mm, 1.5mm, 2mm, 3.0mm) and 3 different spray patterns: horizontal, vertical, and circular. You need to purchase liquid car-grade paint to use an electric Sprayer. | |
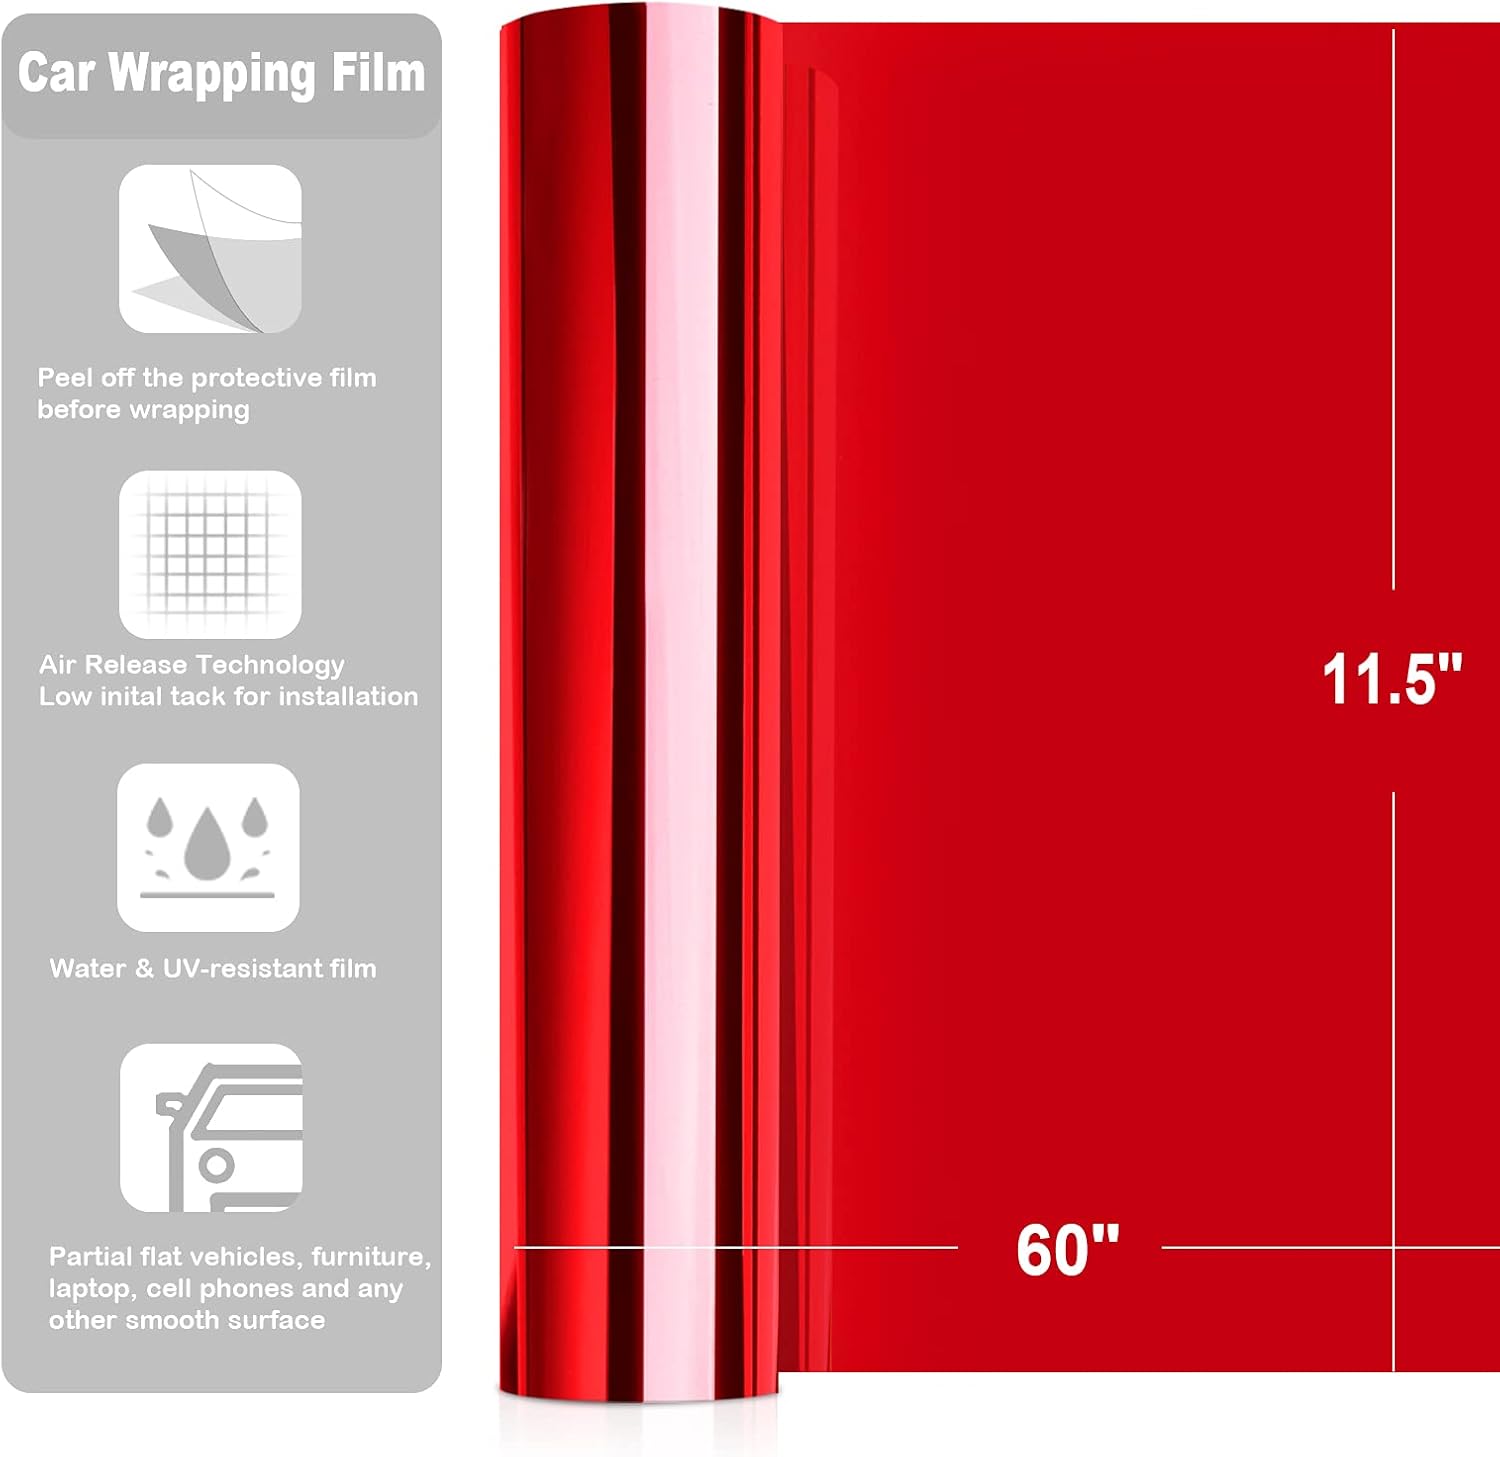 | TECKWRAP Vinyl Wrapping has 5 color options: red, blue, gold, rose gold, silver. If you require other colors, you can search Amazon stores for better solutions. |
If you fix a specific damaged area, you must sand the surface with sandpapers, a sanding block, or a sanding sponge. This step ensures you can get a smooth surface before applying new paint.
You better prepare some masking tapes to protect the area on your cargo box where you don’t want print to stand. These tapes can give you professional lines and shapes after the finish of the painting job.
You can use a sprayer gun to repaint your cargo box. Brushes can work, but they won’t give you the perfect results without bumpy dots. On the other hand, most sprayer guns have flow control to help you achieve better results. We recommend you use a sprayer gun to simplify the job and get a better effort with your time.
With these must-have materials and tools, you are almost ready for a repainting job to transform your cargo box into what you want it to be. We have more tips for you, so stay tuned!
Removing the Existing Rooftop Cargo Box
With what you have in your hands, you can remove the car roof box and get it ready for repainting. Do you have the perfect replacement materials? What is your choice? Paint or Car Warp Paper? Each of these options has its benefits and disadvantages. Which one is your favorite depends on your personality and the skills you have. Painting is a traditional way to add different colors to a project, but changing color with Car Warp Paper requires patience and techniques.
You can prepare a table for the repainting job and put the cargo box on the table. Before the job starts, you better offer a shower for the car roof box and dry it. You better put used newspaper or plastic cover underneath the cargo box to protect the table from getting unwanted color on it.
After removing the cargo box, you better carefully disassemble the small components like mounting feet and put them away in a bag. You better invite someone else to help when moving the car roof box down from the car roof for security concerns. You must be careful when holding the roof box in your hands to prevent a sudden fall and damage to the surface of your vehicle, even if you are ready to repaint a project.
Preparation is crucial for everything, including repainting a roof-mounted cargo box; consequently, you must be well-prepared with notes on damages, correct materials, necessary tools, and relevant knowledge.
Choosing the Replacement Materials
We have mentioned before you have two choices: Paint or Car Wrap Paper. It depends on what you prefer and what skills you have because these two materials require different difficulties on the job. Using car warping paper to change color for a cargo box seems more difficult. You can unleash your creativity to make a plan to achieve the best result.
However, when comparing different materials, you should focus on their durability and weather resistance and choose the better one to renew your cargo box’s visual appeal.
The most popular choices for changing the color of a car roof box are Car-grade paint and Carbon Fiber Car Warp Paper. Whatever option you use to transform your cargo box’s appearance, you should complement the overall aesthetics of your vehicle. You better choose a matching color material to suit the existing paintwork of your car to increase the overall visual look and make a statement on the roads.
The color you use reflects your personality and influences the final outcome, so you must use time to research and find the most suitable color options for repainting a cargo box with consideration of durability and weather resistance.
Measuring and Cutting the New Cover
If you decide to use a Car Warp to renew a cargo box, you have to focus on this step; otherwise, if you want to use a sprayer gun to paint the roof box with color paint, you can do it by following the steps: cleaning, sanding the area (the cargo box has a specific damage area to repaint), painting it several times, until the wanted color smoothly cover the entire roof box.
Now, we focus on using Car Warp to transform a cargo box. After getting a roll of the Car Warp Paper, you can measure and cut it to fit the size of your cargo box. You can use a measuring tape to record the measurement of your roof box for future reference.
Find a knife to cut the Car Warp Cover and put it on the cargo box to check its fit. If it perfectly suits the size of your cargo box, you can start to paste it on the cargo box with proper adjustment and use a knife to cut and cover the edges. When wrapping a roof box, you can use a hair dryer to enhance the pasting strength between the wrapper and the roof box. When you find bumpy dots on the pasted cover, you can push pressure on the air bumps or pill up the paper to relocate without sealed air bumps.
Wrapping a cargo box takes time to finish the job with a great final outcome, so you must be patient.
Conclusion
If you want to repaint a car roof box, you can use either car-grade paint or a roll of car wrapper to do the job. Each option can make your car roof box glossy again like new. If you want to find solutions to fix scratches, dents, or damaging holes on a car roof box, you can refer to a post with the most effective tactics for repairing a cargo box.
Our team is creating outdoor-gear relevant articles with passion. If our articles can help you to find the correct solutions for your questions, we will be happy about that. In the content creation process, we usually collect accurate and useful information online or offline to compile our content in an organized way. Consequently, we can guarantee that you can discover some expected answers to your questions. We appreciate your time on our site.

